
Rhubarb Plant Guide
Rhubarb Rhubarb looks like a beautiful cross between kale and celery. With its deep red stalks and green foliage, it […]
Rhubarb Rhubarb looks like a beautiful cross between kale and celery. With its deep red stalks and green foliage, it […]

Blueberries are one of the easiest fruits to add to your home landscape and are so worthwhile to grow. When […]

Asparagus is one of the first plants to let us know Spring has arrived. The most edible part of asparagus […]

Types of Strawberries June-bearing – Produces one heavy crop of large fruit around md-June. These are preferred varieties for making […]

Tomato terms you will need to know. Determinate and Indeterminate refer to a tomato’s growth habit. Determinate tomato plants tend […]

When do I plant my vegetables? That’s a really good question. Most vegetables are planted in Spring between March and […]

Grapes are an elegant and beautiful addition to any space. Here are a few tips to get you started growing […]
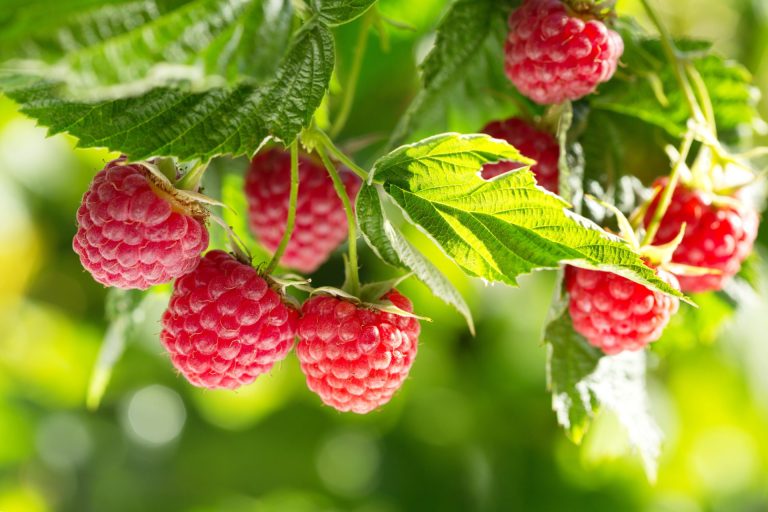
Drake’s 7 Dees specializes in creating beautiful, enriching outdoor spaces throughout the Pacific Northwest. Raspberries provide a beautiful, edible addition […]

It may seem odd to talk about intentionally growing this often aggressive and painful plant. But maybe you are someone […]